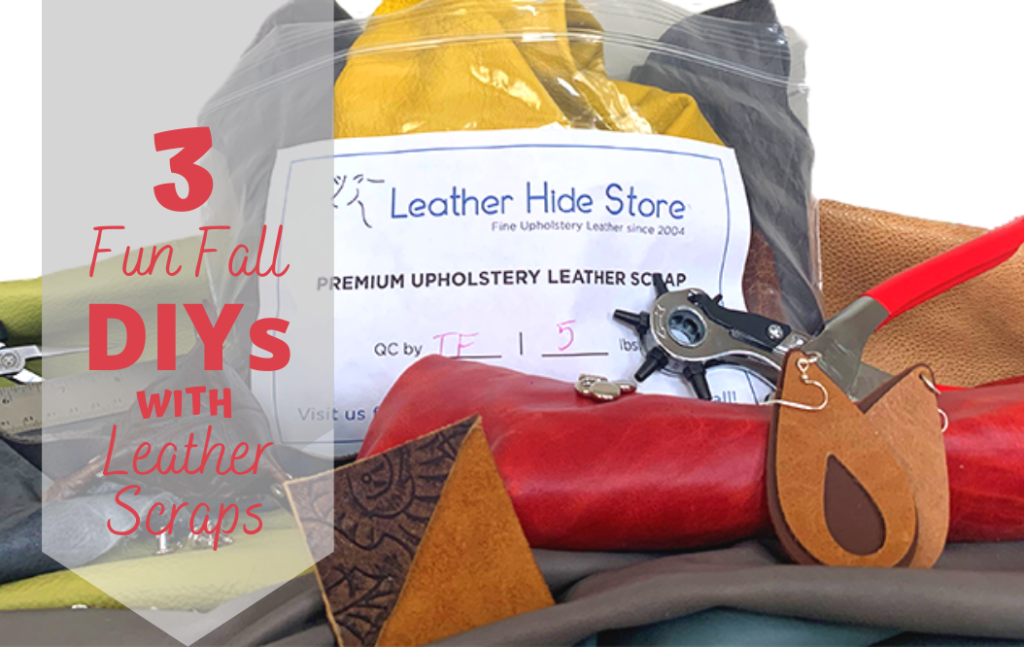
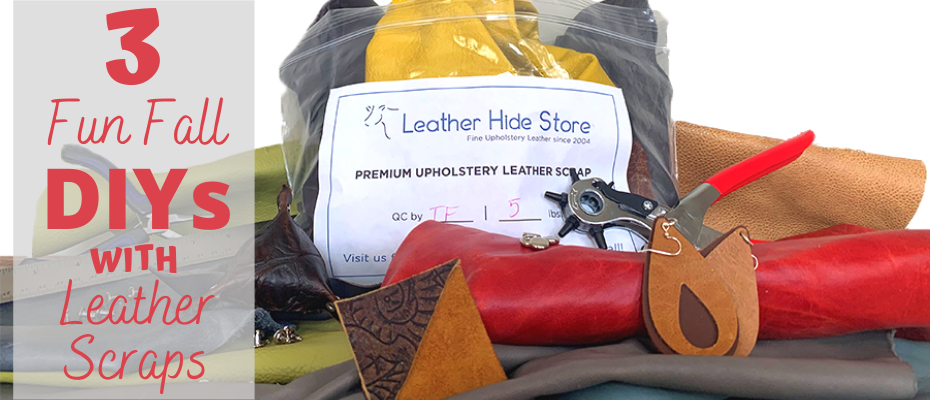
Using leftover leather pieces is a sustainable way to create beautiful accessories and custom items. Leather adds a luxurious feel to even the simplest DIY or craft, and is easier to work with than you might think! Many projects using leather- from handbags to upholstering furniture, require large, geometric, cuts. This results in leftover pieces of all shapes and sizes. While these leather scraps are not generally able to be pieced together for a larger project, they are perfect for small goods, accessories, or even accent items for your home.
We’ll walk you through three of our favorite DIYs- and have you crafting in no time!
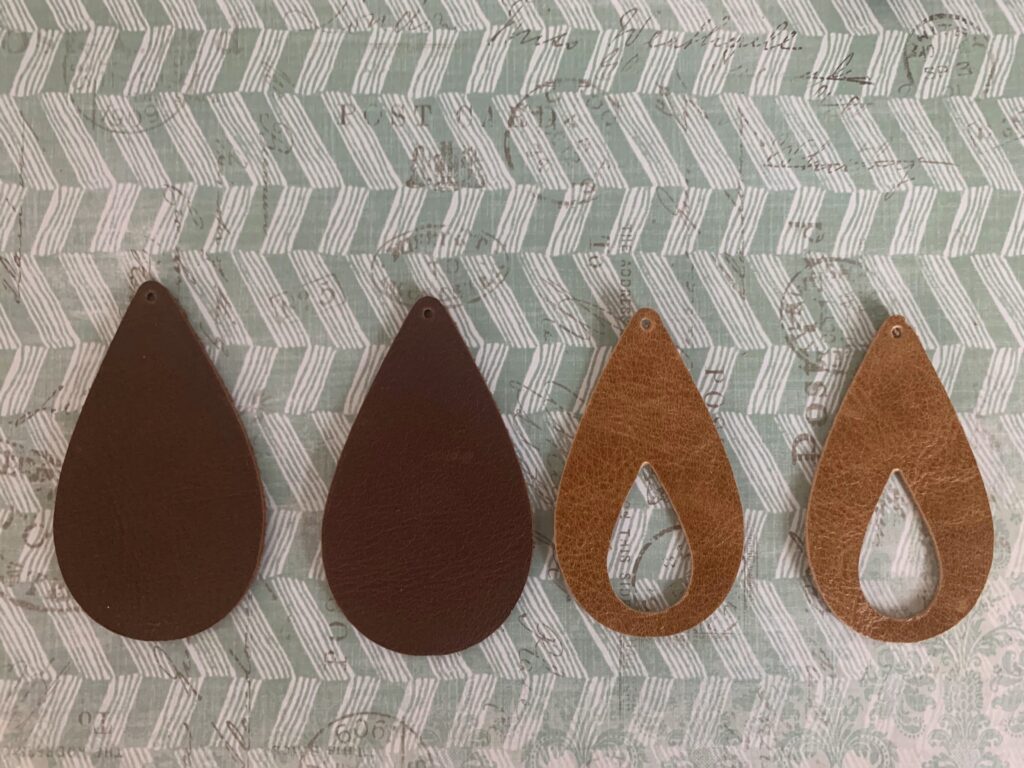
Using Leather Scraps for Earrings
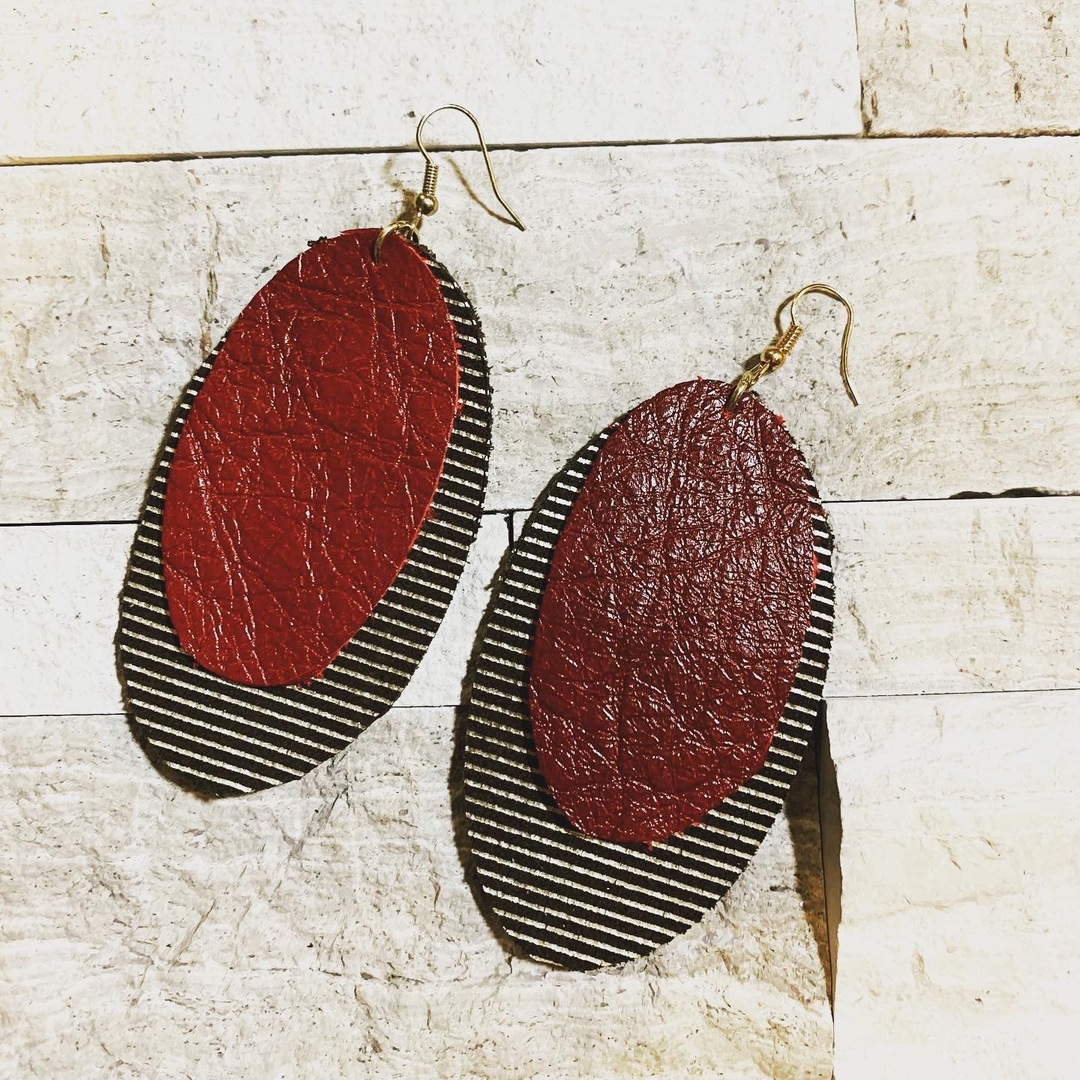
The sky's the limit for these fun earrings! This oval style is simple, fun, and can utilize a wide range of colors and textures. For a really creative take, incorporate contrasting colors or patterns- check out our talented customer’s earrings pictured below for a little inspiration:
What You Will Need:
- Leather
- Earring Hooks
- Jump Ring
- Thumbtack
- Pliers
- Craft Scissors
See, we told you it would be easy!
Step 1: Cut Your Leather
Simply print out a pattern in the desired shapes and sizes. Trace these patterns, and carefully cut them out. Then, place your pieces on top of one another, and trim if needed. No one wants uneven earrings!
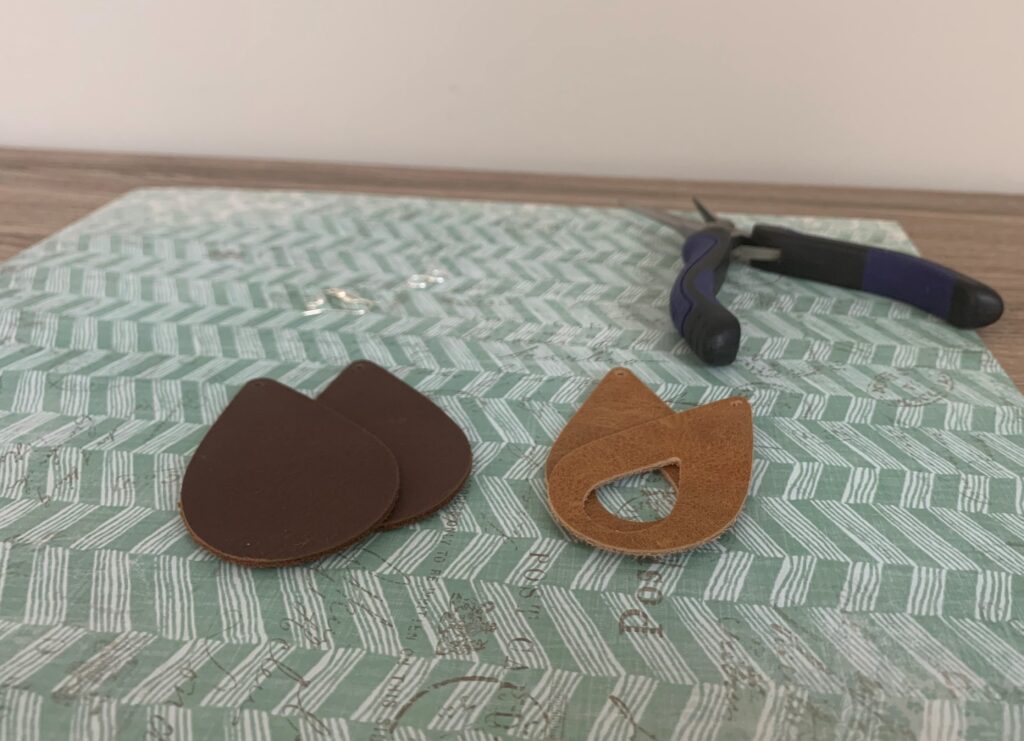
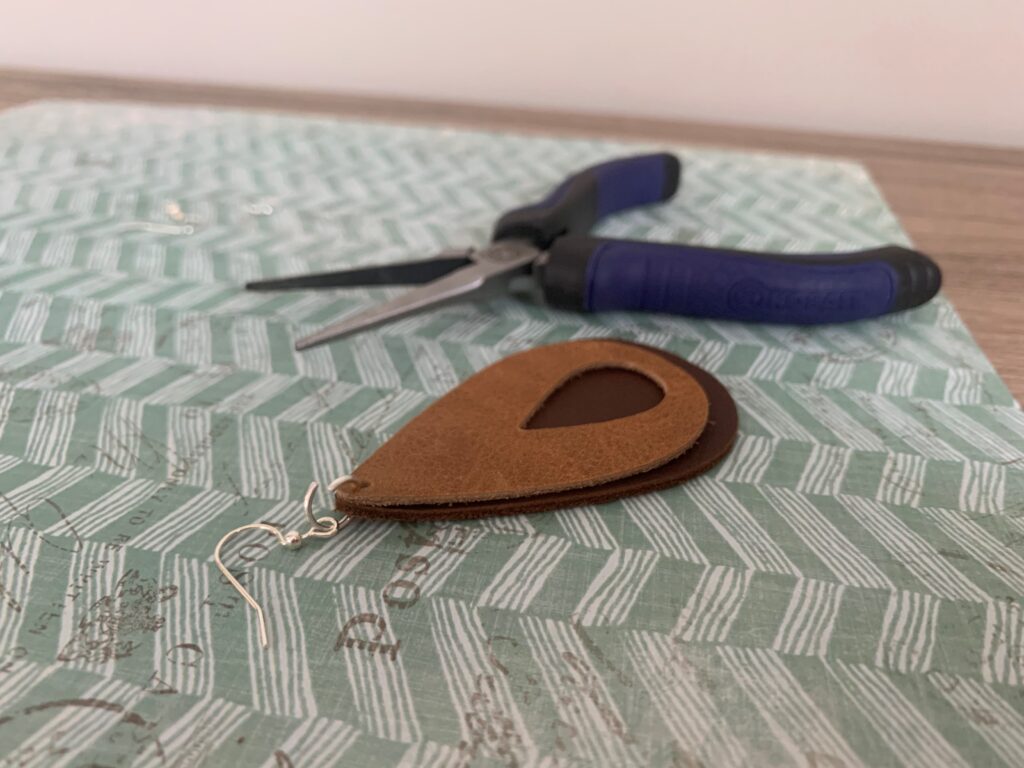
Step 2: Create Holes for Jump Rings
Mark the ideal spot for your jump rings using a pen. After placing your leather pieces on a protected surface (like a craft mat or cutting board), push your thumbtack through until it makes a clean perforation.
Step 3: Add Earring Hook
With your pliers, open your jump ring, and place through the hole, and through the ring of your earring hook. Close the ring completely.
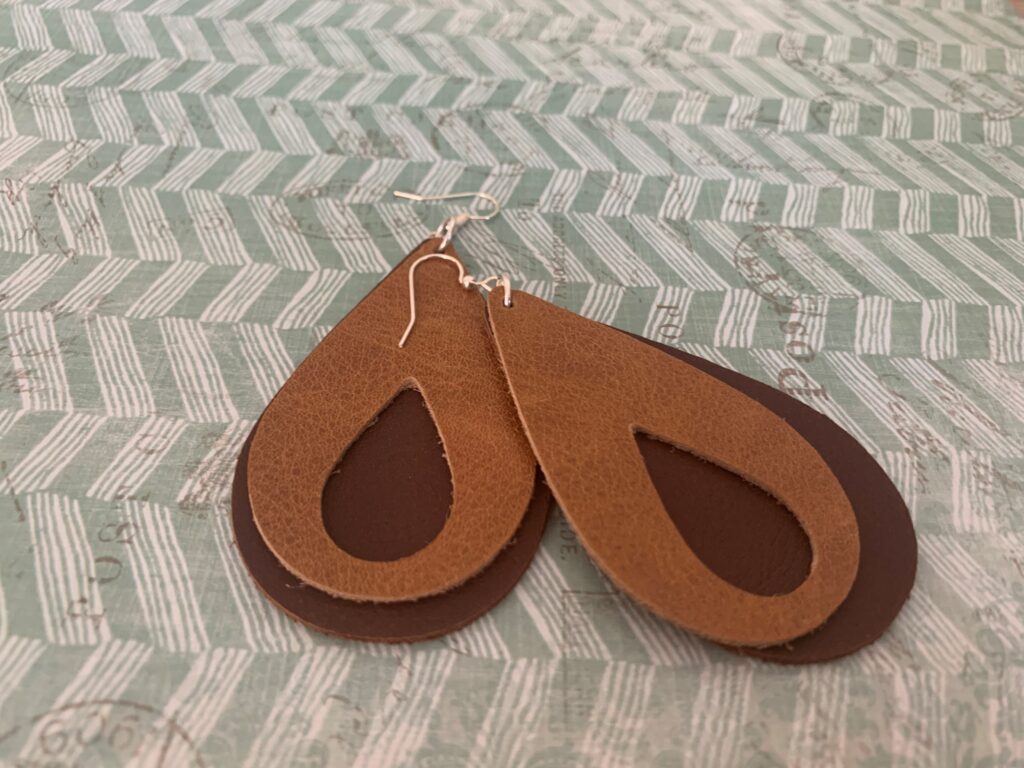
Step 4: Enjoy!
These earrings are a gorgeous, and versatile accessory. You can even add a drop of essential oil on the back for a little aromatherapy on the go!
Using leather scraps for jewelry opens up a world of creativity. Whether it is odds and ends left from a larger project you’ve just completed, or you’re on the hunt for the perfect combination, it gives this beautiful material a second life. Check out our leather scraps for sale to get started, or to add to your own collection
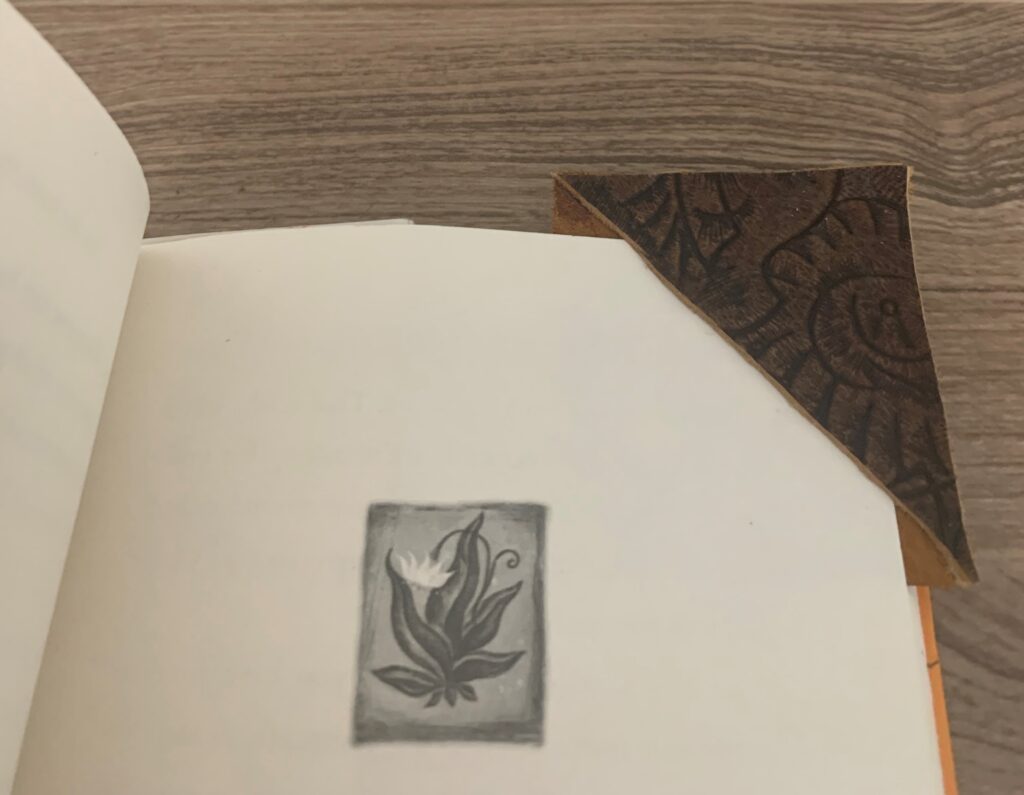
Crafting Bookmarks
Bookmarks are a wonderful way to repurpose leather left from a larger project. This style is classic, functional, and guaranteed to hold your page. You cannot get much simpler than this fun (and kid friendly!) DIY.
What You Will Need:
- Leather
- Needle & Thread
- OR Krazy Glue
Step 1: Cut Your Leather
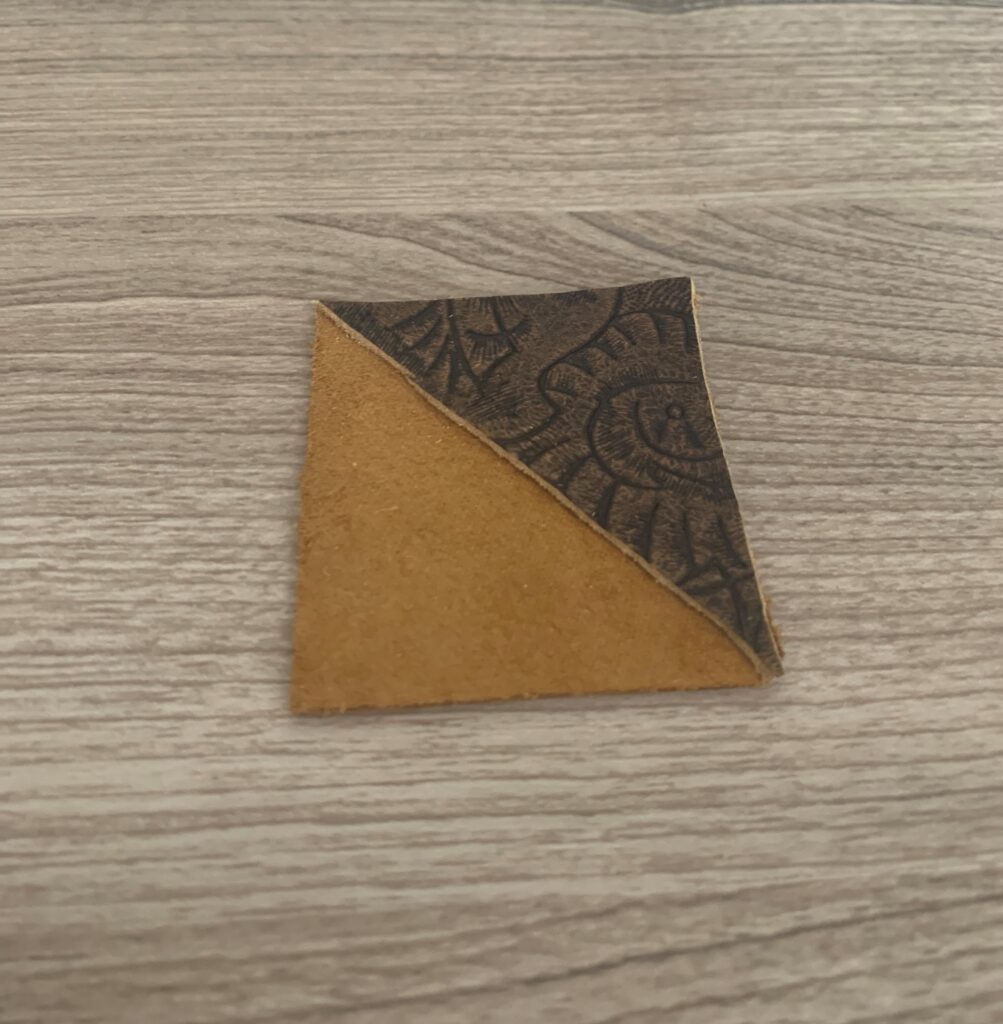
Cut (2) 2.5 Inch Squares, and then take 1 of those squares and cut it diagonally.
Step 2: Assemble Your Bookmarks
Place your cut square on top of your full square and either sew, or glue, your pieces together. While either works, sewing your bookmark will give it more structure, and durability.
Step 3: Decorate!
Add a cute button, or a few additional stitches to make your bookmark your own. This craft is so easy, even kids can get in on the fun. These bookmarks are just begging for some googly eyes if you ask us….
The simplicity of this DIY really speaks to how much you can do with “leftovers.” Whether it is finding an entirely new use, or incorporating them into a tried and true craft you love- don’t be afraid to add something new into your mix of go-to mediums.
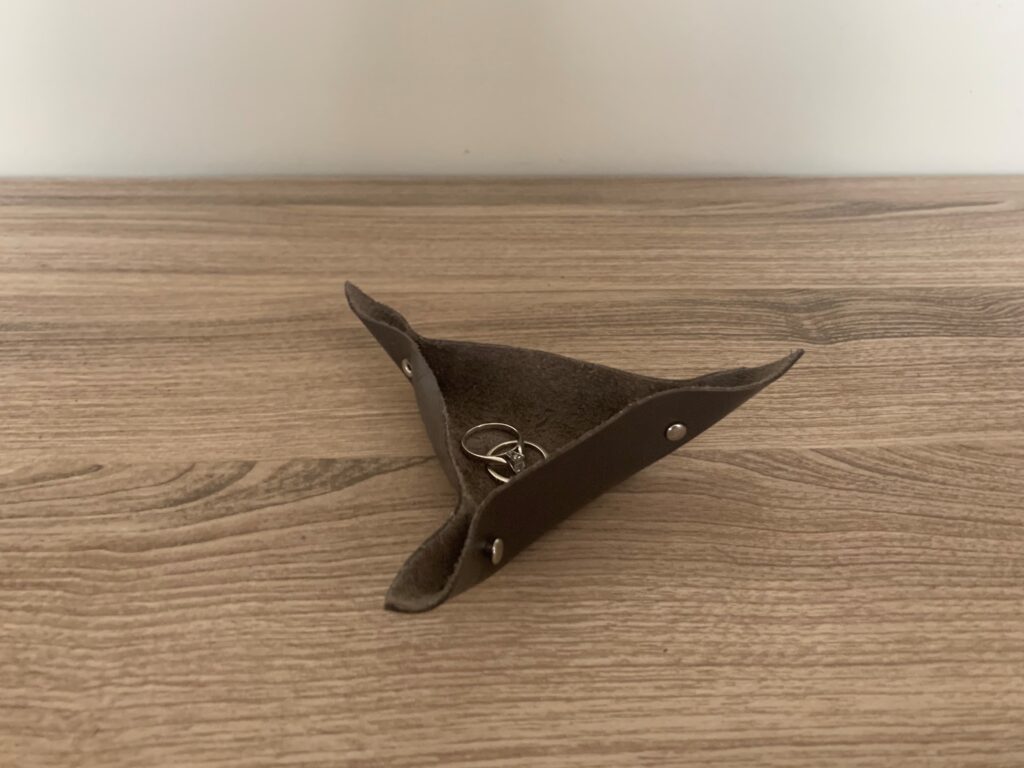
Making Trinket Dishes with Your Leftover Leather
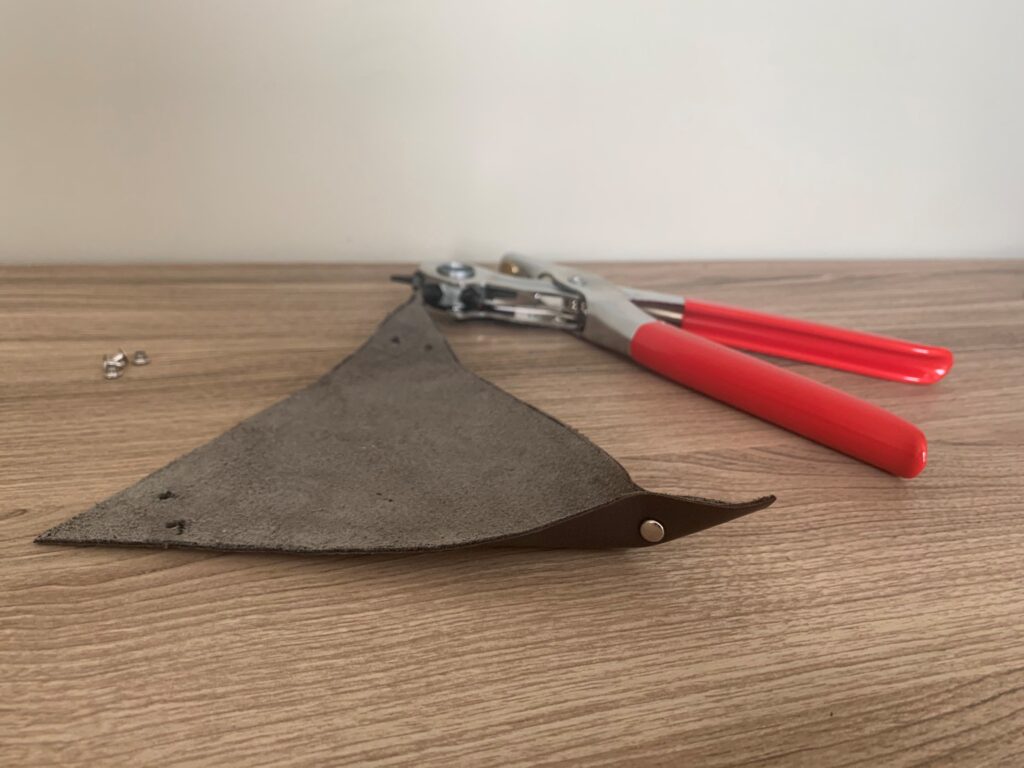
Who doesn’t love a DIY that looks hard… but is mind blowingly easy? Don’t worry, we’ll let you take all the crafting credit you’ll surely get with this awesome trinket dish. As we said earlier, these scraps come in all shapes and sizes. Some of those larger pieces would be perfect for this stylish accent piece.
What You Will Need:
- Multi Hole Punch Tool
- Leather
- Scissor
- Studs
- Ruler
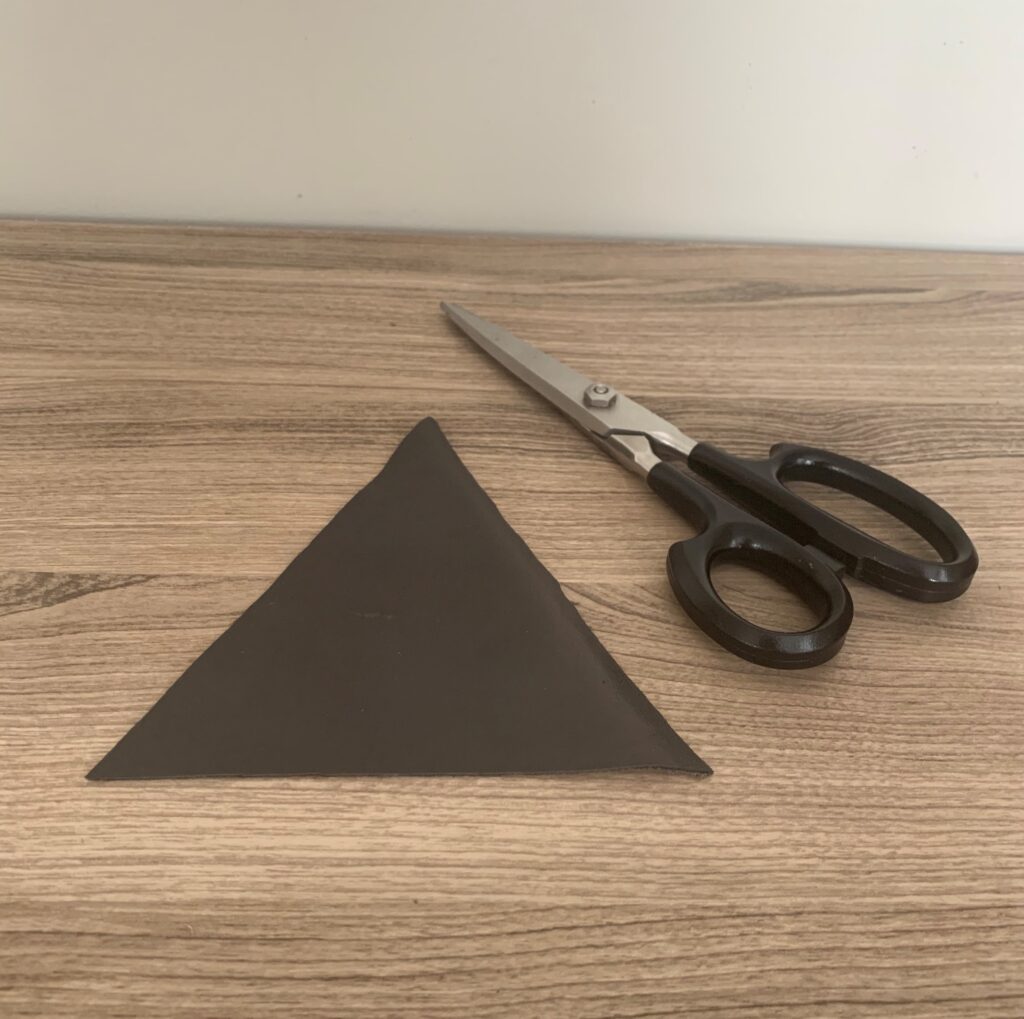
Step 1: Cut Your Triangle
You will want to lay your leather face down, and trace a triangle on the back- we recommend measuring first to determine the best size. All three sides of your triangle need to be the same length. Once you have traced your triangle, carefully cut it out.
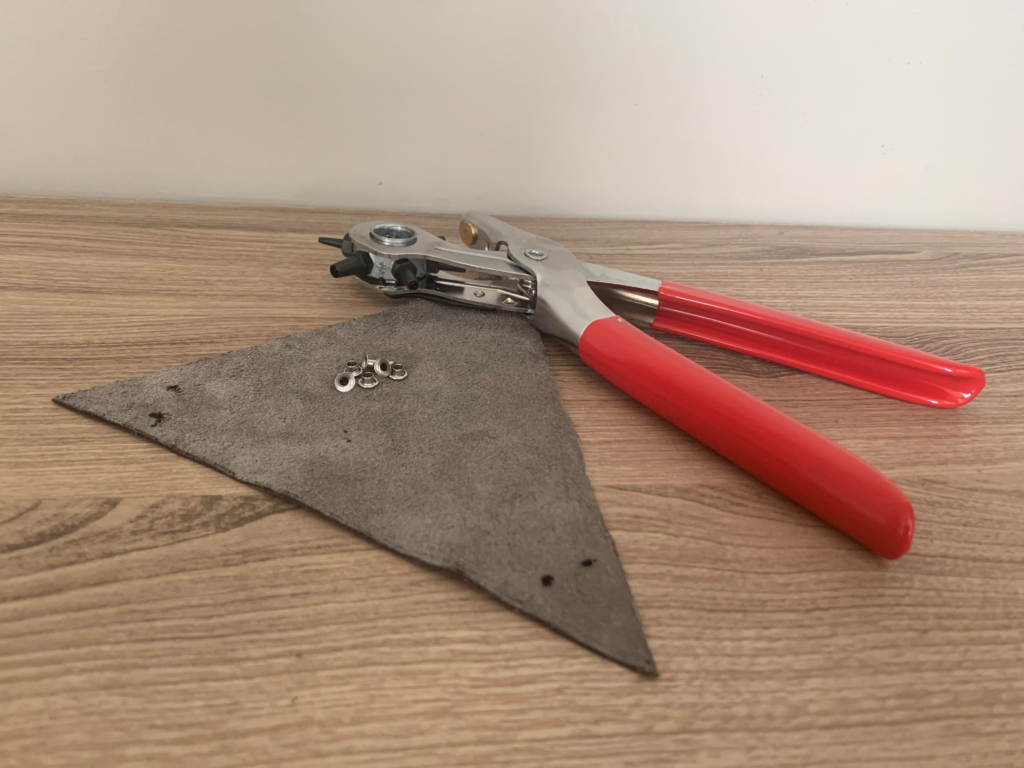
Step 2: Punch Holes in the Corners
Punch two holes in each corner of your triangle- about half an inch apart. This is where your studs will connect the leather, so it is important these holes are aligned well. Place your holes about a half inch in from the edge. Be sure they are both aligned with one another, and an equal distance from the tip of the triangle.
Step 3: Add Your Studs
Place the bottom of your stud through one hole, and as you fold the leather your trinket dish will begin to take shape. This is the most important step, as your alignment of the studs helps balance your dish. Make sure the holes are matched up as *perfectly* as you can, and add the top of the stud. Complete this on the other two sides… and Voila! You have a new wow-worthy trinket dish.
Working with leather brings a real sense of satisfaction- from the smell, to the durability and character, that comes from working with natural materials. We encourage you to try working with leather scraps to see for yourself.
Feeling inspired? If you need larger leather pieces for crafting or small furniture projects, check out our leather remnants and pieces!